Connecting to a Raspberry Pi over the internet can significantly enhance its functionality, allowing you to manage and interact with it remotely from anywhere in the world. Whether you're a hobbyist or a professional developer, mastering this skill can open up countless possibilities for remote control, automation, and IoT projects. In this article, we'll explore everything you need to know to establish a secure and reliable connection to your Raspberry Pi from anywhere on the globe.
Remote access to Raspberry Pi has become increasingly popular as more users rely on it for diverse applications, ranging from home automation to professional server management. However, achieving this level of accessibility requires careful planning and execution to ensure both security and efficiency. This guide will walk you through the essential steps, tools, and best practices to help you connect to your Raspberry Pi securely over the internet.
Throughout this article, we'll cover key aspects such as setting up your Raspberry Pi for remote access, configuring network settings, using secure protocols, and troubleshooting common issues. By the end of this guide, you'll have a comprehensive understanding of how to connect to Raspberry Pi over the internet while maintaining the highest standards of security and reliability.
Read also:Best Raspberry Pi Remote Control Iot Software A Comprehensive Guide
Table of Contents
- Setting Up Your Raspberry Pi for Remote Access
- Configuring Network Settings
- Securing Your Raspberry Pi Connection
- Understanding Secure Protocols
- Essential Tools for Remote Access
- Using Dynamic DNS for Easy Access
- Connecting via VNC
- Connecting via SSH
- Troubleshooting Common Issues
- Conclusion and Next Steps
Setting Up Your Raspberry Pi for Remote Access
Preparing Your Raspberry Pi
Before diving into the technical aspects of connecting to your Raspberry Pi over the internet, it's crucial to ensure that your device is properly set up and configured. Start by installing the latest version of Raspberry Pi OS on your device. You can download the operating system from the official Raspberry Pi website and use a tool like balenaEtcher to flash it onto an SD card.
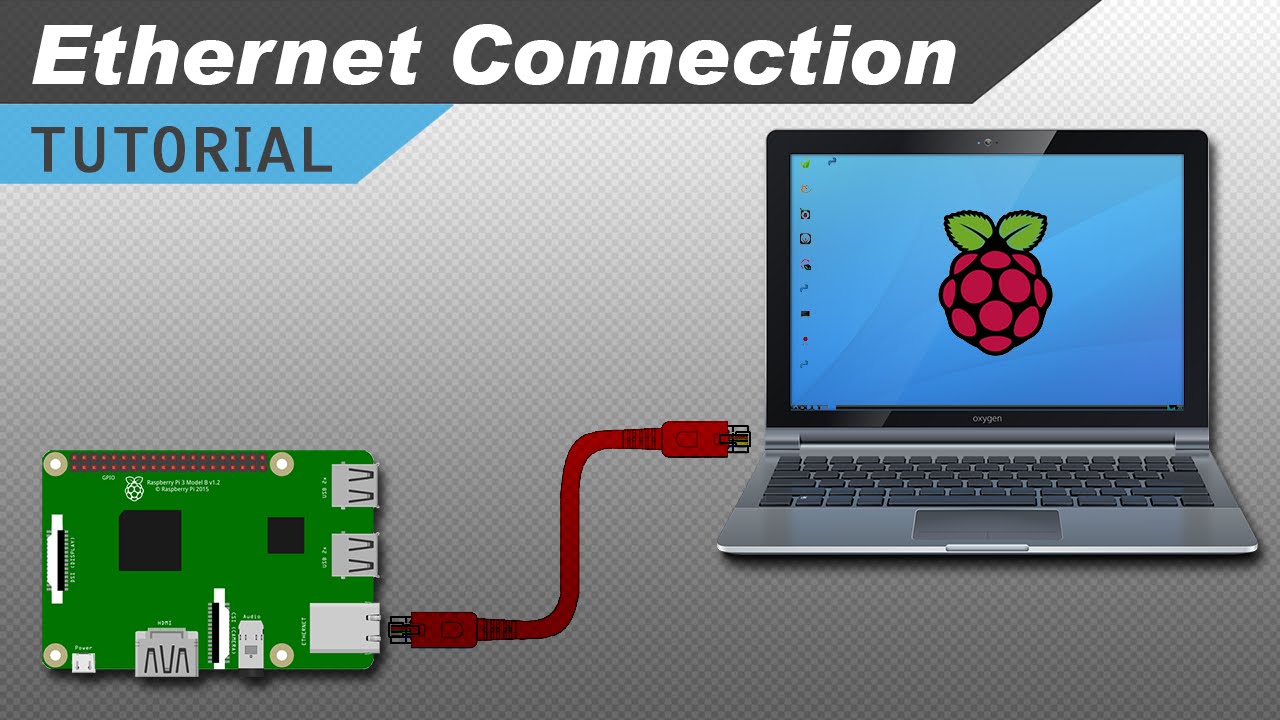
Once the OS is installed, boot up your Raspberry Pi and connect it to your local network using an Ethernet cable or Wi-Fi. During the initial setup, make sure to configure the following:
- Create a strong and unique password for the default user (pi).
- Enable SSH by creating an empty file named "ssh" on the boot partition of the SD card.
- Set a static IP address to ensure consistent connectivity.
Updating Your Raspberry Pi
After completing the initial setup, update your Raspberry Pi to ensure that all software packages are up to date. Open the terminal and run the following commands:
sudo apt update
sudo apt upgrade
This step is essential to patch any security vulnerabilities and ensure that your device is running the latest software versions.
Read also:Angela Halili Husband Exploring The Life And Love Story Behind The Screen
Configuring Network Settings
Assigning a Static IP Address
Assigning a static IP address to your Raspberry Pi is a critical step in ensuring reliable remote access. By doing so, you eliminate the risk of your device's IP address changing, which could disrupt your connection. Follow these steps to set a static IP address:
- Open the terminal and edit the
/etc/dhcpcd.conffile using a text editor like nano. - Add the following lines at the end of the file:
interface eth0
static ip_address=192.168.1.100/24
static routers=192.168.1.1
static domain_name_servers=192.168.1.1
Save the file and reboot your Raspberry Pi to apply the changes.
Securing Your Raspberry Pi Connection
Implementing Firewall Rules
Security should always be a top priority when connecting to your Raspberry Pi over the internet. One of the most effective ways to protect your device is by configuring a firewall. Use the ufw (Uncomplicated Firewall) tool to set up basic firewall rules:
sudo ufw allow ssh
sudo ufw enable
This configuration allows SSH traffic while blocking all other incoming connections, reducing the risk of unauthorized access.
Changing Default SSH Port
Changing the default SSH port (22) can add an extra layer of security by making it harder for attackers to identify your SSH service. To change the port, edit the /etc/ssh/sshd_config file and modify the Port parameter. Remember to update your firewall rules to allow traffic on the new port.
Understanding Secure Protocols
Using SSH for Secure Communication
SSH (Secure Shell) is the most widely used protocol for secure remote access to Raspberry Pi. It encrypts all data transmitted between your device and the client, ensuring that sensitive information remains protected. To connect to your Raspberry Pi via SSH, you'll need the following:
- The IP address of your Raspberry Pi.
- A username and password (or SSH key).
- An SSH client like PuTTY (Windows) or Terminal (macOS/Linux).
Essential Tools for Remote Access
SSH Clients
There are several SSH clients available for different operating systems. Some of the most popular ones include:
- PuTTY: A free and open-source SSH client for Windows.
- Terminal: Built-in SSH client for macOS and Linux users.
- Termius: A cross-platform SSH client available for iOS, Android, macOS, and Windows.
File Transfer Tools
For transferring files between your computer and Raspberry Pi, consider using tools like:
- WinSCP: A free SFTP client for Windows.
- FileZilla: A cross-platform FTP and SFTP client.
Using Dynamic DNS for Easy Access
What is Dynamic DNS?
Dynamic DNS (DDNS) allows you to map a domain name to your Raspberry Pi's IP address, even if it changes dynamically. This makes it easier to access your device without needing to remember its IP address. Popular DDNS services include:
- No-IP: Offers free and paid DDNS services.
- DuckDNS: A free and simple DDNS service.
Setting Up DDNS
To set up DDNS on your Raspberry Pi, follow these steps:
- Create an account on your chosen DDNS provider.
- Install the DDNS client on your Raspberry Pi and configure it with your account credentials.
- Test the setup by accessing your Raspberry Pi using the assigned domain name.
Connecting via VNC
What is VNC?
VNC (Virtual Network Computing) allows you to remotely control your Raspberry Pi's graphical interface. This is particularly useful for applications that require a graphical user interface. To set up VNC, follow these steps:
- Install the VNC server on your Raspberry Pi using the following command:
sudo apt install realvnc-vnc-server realvnc-vnc-viewer
- Launch the VNC server and configure it to start automatically on boot.
- Use a VNC client on your computer to connect to your Raspberry Pi.
Connecting via SSH
Basic SSH Commands
Here are some basic SSH commands that you'll find useful when connecting to your Raspberry Pi:
ssh pi@your-pi-ip: Connect to your Raspberry Pi using SSH.scp file.txt pi@your-pi-ip:/home/pi: Copy a file to your Raspberry Pi.ssh-keygen: Generate an SSH key pair for passwordless authentication.
Troubleshooting Common Issues
Unable to Connect via SSH
If you're unable to connect to your Raspberry Pi via SSH, consider the following troubleshooting steps:
- Ensure that SSH is enabled on your Raspberry Pi.
- Check your network configuration and ensure that your Raspberry Pi has a valid IP address.
- Verify that your firewall rules allow SSH traffic.
Conclusion and Next Steps
In this comprehensive guide, we've explored how to connect to Raspberry Pi over the internet using various methods and tools. By following the steps outlined above, you can establish a secure and reliable connection to your Raspberry Pi from anywhere in the world. Remember to prioritize security by implementing firewalls, changing default settings, and using secure protocols like SSH.
To further enhance your Raspberry Pi skills, consider exploring advanced topics such as setting up a web server, creating IoT applications, or automating tasks using scripts. The possibilities are endless, and with the right knowledge, you can unlock the full potential of your Raspberry Pi.
We encourage you to share this article with others who might find it useful and leave a comment below if you have any questions or feedback. Happy tinkering!