Remote access to a Raspberry Pi using SSH is an essential skill for anyone working with this versatile device. Whether you're a hobbyist or a professional developer, understanding how to securely connect to your Raspberry Pi from another computer can significantly enhance your productivity. This guide will walk you through the process step-by-step, ensuring you have all the tools and knowledge needed to successfully remote SSH into Raspberry Pi.
In today's digital age, remote access has become increasingly important, especially when managing devices like the Raspberry Pi. By learning how to remote SSH into Raspberry Pi, you can control your device from anywhere, whether you're troubleshooting issues, running scripts, or simply monitoring its performance.
This comprehensive guide covers everything from setting up your Raspberry Pi for remote access to troubleshooting common issues. We'll also provide tips and best practices to ensure your connection remains secure and efficient. Let's dive in!
Read also:Michael Caines The Culinary Maestro Redefining Fine Dining
Table of Contents
- Introduction to Raspberry Pi and SSH
- Setting Up Your Raspberry Pi for Remote SSH
- Enabling SSH on Raspberry Pi
- Connecting to Raspberry Pi via SSH
- Choosing the Right SSH Client
- Securing Your SSH Connection
- Troubleshooting Common SSH Issues
- Advanced SSH Techniques
- Practical Applications of Remote SSH
- Conclusion and Next Steps
Introduction to Raspberry Pi and SSH
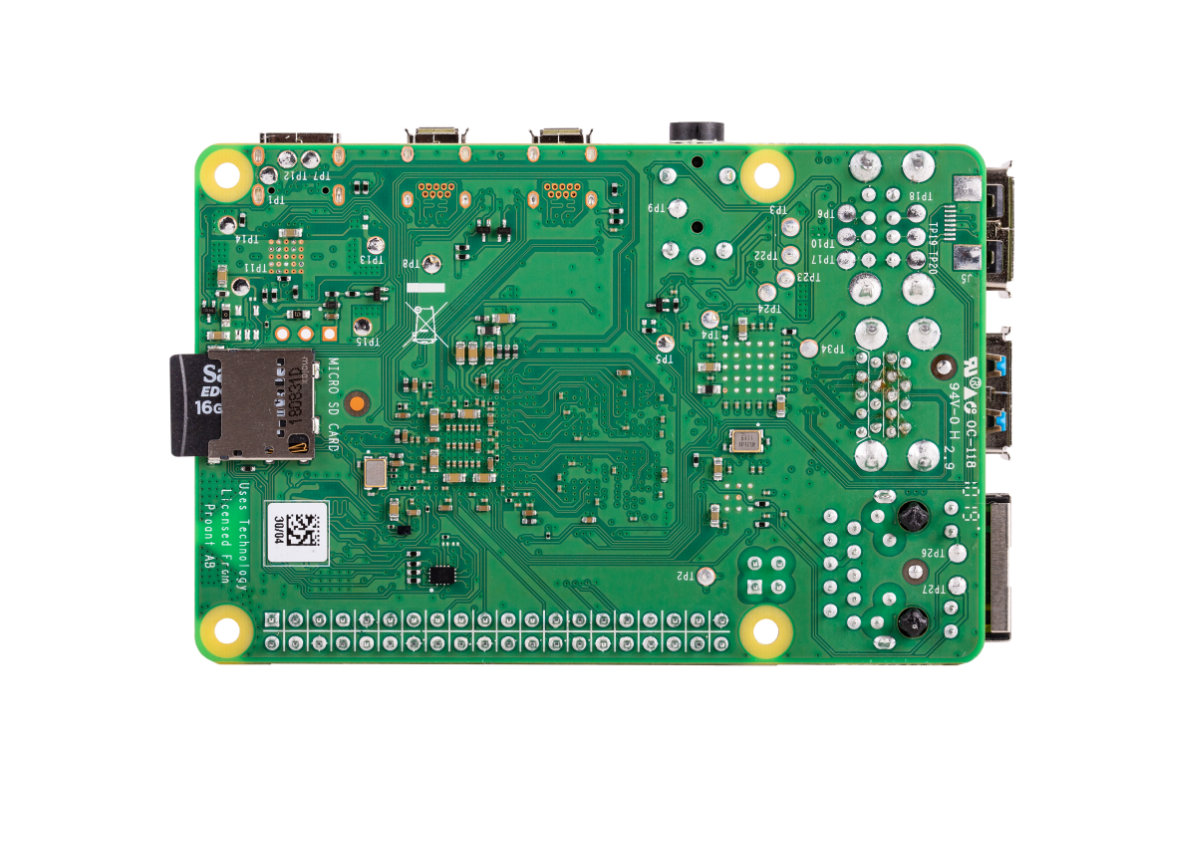
The Raspberry Pi is a powerful yet affordable single-board computer that has become a favorite among tech enthusiasts and professionals alike. One of the key features of the Raspberry Pi is its ability to be accessed remotely using SSH (Secure Shell). SSH is a network protocol that allows users to securely connect to and manage remote devices over an encrypted connection.
Why Use SSH for Raspberry Pi?
Using SSH to remote into Raspberry Pi offers several advantages:
- Convenience: Access your Raspberry Pi from anywhere without needing physical access.
- Security: SSH encrypts all data transmitted between your computer and the Raspberry Pi, ensuring secure communication.
- Efficiency: Perform tasks and manage files remotely, saving time and effort.
Whether you're setting up a home server, running IoT projects, or managing a headless Raspberry Pi, understanding how to remote SSH into Raspberry Pi is crucial.
Setting Up Your Raspberry Pi for Remote SSH
Before you can remote SSH into Raspberry Pi, you need to ensure that your device is properly configured. This involves setting up the necessary software and network configurations.
Step 1: Install the Latest Raspberry Pi OS
Start by installing the latest version of Raspberry Pi OS on your device. This ensures you have access to all the latest features and security updates. You can download the OS image from the official Raspberry Pi website and use a tool like BalenaEtcher to flash it onto your microSD card.
Step 2: Configure Wi-Fi or Ethernet
To enable remote access, your Raspberry Pi must be connected to a network. You can connect it via Wi-Fi or Ethernet. If using Wi-Fi, ensure that your credentials are correctly configured in the wpa_supplicant.conf file.
Read also:Ana Kasparian A Rising Star In Sports Journalism And Beyond
Enabling SSH on Raspberry Pi
SSH is disabled by default on Raspberry Pi OS for security reasons. To enable it, follow these steps:
Method 1: Using the Raspberry Pi Configuration Tool
If you have access to the Raspberry Pi's graphical interface, you can enable SSH using the Raspberry Pi Configuration tool:
- Open the Raspberry Pi Configuration tool from the Preferences menu.
- Navigate to the "Interfaces" tab.
- Select "Enabled" next to SSH and click "OK."
Method 2: Enabling SSH Headlessly
If you don't have access to the graphical interface, you can enable SSH by creating an empty file named ssh in the boot partition of your Raspberry Pi's SD card.
Connecting to Raspberry Pi via SSH
Once SSH is enabled, you can connect to your Raspberry Pi from another computer. Here's how:
Step 1: Find the IP Address of Your Raspberry Pi
You'll need the IP address of your Raspberry Pi to establish a connection. You can find this information by running the command:
hostname -I in the terminal on your Raspberry Pi.
Step 2: Use an SSH Client
Use an SSH client like PuTTY (for Windows) or the built-in terminal (for macOS and Linux) to connect to your Raspberry Pi. Enter the following command:
ssh pi@
Choosing the Right SSH Client
Selecting the right SSH client is important for a seamless connection experience. Here are some popular options:
1. Terminal (macOS/Linux)
The built-in terminal on macOS and Linux is a powerful and straightforward SSH client. Simply open the terminal and use the SSH command as described earlier.
2. PuTTY (Windows)
PuTTY is a widely used SSH client for Windows. It provides a graphical interface and supports various protocols, including SSH.
3. MobaXterm
MobaXterm is another excellent option for Windows users, offering additional features like X11 forwarding and session management.
Securing Your SSH Connection
Security is paramount when dealing with remote access. Here are some tips to secure your SSH connection:
1. Change the Default Password
The default password for the Raspberry Pi user is "raspberry." Change this immediately to a strong, unique password.
2. Disable Password Authentication
Consider using SSH keys instead of passwords for authentication. This adds an extra layer of security.
3. Use a Firewall
Configure a firewall to restrict access to your Raspberry Pi, allowing only trusted IP addresses to connect.
Troubleshooting Common SSH Issues
Even with proper setup, you may encounter issues when trying to remote SSH into Raspberry Pi. Here are some common problems and their solutions:
Issue 1: Unable to Connect
Ensure that SSH is enabled on your Raspberry Pi and that you're using the correct IP address. Check your network connection and firewall settings.
Issue 2: Permission Denied
If you receive a "permission denied" error, verify that you're using the correct username and password. If you're using SSH keys, ensure they are properly configured.
Advanced SSH Techniques
Once you're comfortable with the basics, you can explore advanced SSH techniques to further enhance your experience:
1. Port Forwarding
Use SSH port forwarding to securely access services running on your Raspberry Pi from another network.
2. SSH Tunnels
Create SSH tunnels to encrypt traffic between your computer and the Raspberry Pi, ensuring secure communication.
Practical Applications of Remote SSH
Remote SSH into Raspberry Pi has numerous practical applications, including:
1. Managing IoT Devices
Use SSH to remotely manage IoT devices connected to your Raspberry Pi, such as sensors and actuators.
2. Running Headless Servers
Set up and manage headless servers for web hosting, file sharing, or media streaming.
3. Automating Tasks
Run scripts and automate tasks on your Raspberry Pi from anywhere, streamlining your workflow.
Conclusion and Next Steps
Learning how to remote SSH into Raspberry Pi opens up a world of possibilities for managing and interacting with your device. By following the steps outlined in this guide, you can ensure a secure and efficient connection. Remember to always prioritize security and explore advanced techniques to enhance your skills.
We encourage you to share your experiences and tips in the comments below. For more in-depth guides and tutorials, explore our other articles on Raspberry Pi and related technologies. Happy tinkering!