Accessing your Raspberry Pi over the internet opens up endless possibilities for remote management, automation, and IoT projects. Whether you're a tech enthusiast, hobbyist, or professional, understanding how to securely connect to your Raspberry Pi remotely is a valuable skill. In this guide, we will explore the steps and best practices to achieve this safely and effectively.
With the growing demand for remote access solutions, many users are turning to Raspberry Pi as a cost-effective and versatile device for various applications. However, setting up secure remote access can be challenging without proper guidance. This article aims to provide a detailed walkthrough of the process, ensuring you can confidently manage your Raspberry Pi from anywhere in the world.
By the end of this guide, you will have a clear understanding of the tools, configurations, and security measures required to access your Raspberry Pi over the internet. Let's dive in!
Read also:Angela Halili Husband Exploring The Life And Love Story Behind The Screen
Table of Contents
- Introduction to Raspberry Pi Remote Access
- Why You Should Access Raspberry Pi Over the Internet
- Preparation Before Setup
- Setting Up SSH for Remote Access
- Understanding and Configuring Port Forwarding
- Dynamic DNS (DDNS) for Easier Access
- Using a VPN for Secure Connections
- Security Best Practices for Remote Access
- Troubleshooting Common Issues
- Conclusion and Next Steps
Introduction to Raspberry Pi Remote Access
Raspberry Pi is a powerful yet affordable single-board computer that has become a favorite among hobbyists and professionals alike. One of its most useful features is the ability to access it remotely over the internet. This functionality allows users to manage their projects, monitor systems, and perform tasks without being physically present.
Benefits of Remote Access
Remote access to your Raspberry Pi offers several advantages, including:
- Flexibility: Manage your Raspberry Pi from anywhere in the world.
- Efficiency: Perform tasks quickly without needing to be near the device.
- Cost-Effective: Eliminate the need for additional hardware or travel.
- Automation: Set up scripts and processes that can be triggered remotely.
Why You Should Access Raspberry Pi Over the Internet
Accessing your Raspberry Pi over the internet can significantly enhance your productivity and expand the capabilities of your projects. For instance, if you're running a home automation system, you can control smart devices remotely. Similarly, if you're managing a server or hosting applications, remote access ensures you can troubleshoot and maintain them efficiently.
Real-World Applications
Some practical use cases for remote Raspberry Pi access include:
- Home Automation: Control smart home devices from anywhere.
- Web Hosting: Manage your personal website or application server remotely.
- Surveillance Systems: Monitor security cameras and footage in real-time.
- Data Collection: Access sensor data or logs for analysis.
Preparation Before Setup
Before setting up remote access for your Raspberry Pi, it's essential to ensure that your device is properly configured and secure. Here are some steps to prepare:
What You'll Need
- A Raspberry Pi with Raspbian or another compatible operating system installed.
- A stable internet connection with a static or dynamic IP address.
- A router with port forwarding capabilities.
- A dynamic DNS (DDNS) account (optional but recommended).
- A basic understanding of networking and command-line interfaces.
Initial Configuration
Ensure your Raspberry Pi is up to date by running the following commands in the terminal:
Read also:Remy Lacroix 2025 The Future Of Luxury Watches Redefined
sudo apt updatesudo apt upgrade
These commands will ensure your system is running the latest software versions, reducing potential vulnerabilities.
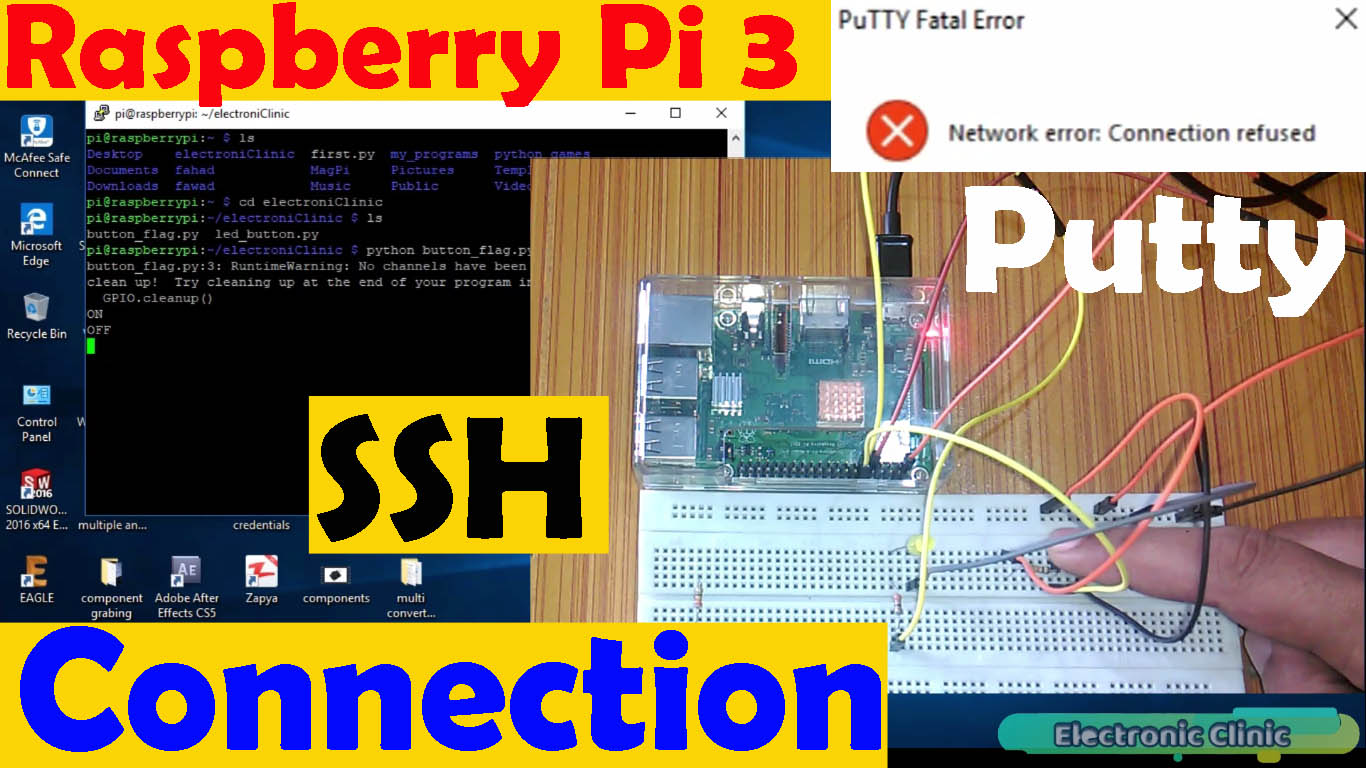
Setting Up SSH for Remote Access
SSH (Secure Shell) is one of the most common protocols for securely accessing a Raspberry Pi remotely. By enabling SSH, you can connect to your device using a terminal or SSH client from any location.
Enabling SSH on Raspberry Pi
To enable SSH on your Raspberry Pi, follow these steps:
- Open the terminal on your Raspberry Pi.
- Type the command
sudo raspi-configand press Enter. - Select "Interfacing Options" and navigate to "SSH."
- Choose "Yes" to enable SSH and exit the configuration tool.
Connecting via SSH
Once SSH is enabled, you can connect to your Raspberry Pi using an SSH client such as PuTTY (for Windows) or the built-in terminal on macOS and Linux. Use the following format to connect:
ssh pi@your-raspberry-pi-ip-address
Replace your-raspberry-pi-ip-address with the actual IP address of your Raspberry Pi.
Understanding and Configuring Port Forwarding
Port forwarding is a crucial step in allowing external access to your Raspberry Pi. It involves directing incoming traffic from the internet to your device's local IP address.
Steps to Configure Port Forwarding
- Log in to your router's admin interface using its IP address (usually 192.168.0.1 or 192.168.1.1).
- Locate the "Port Forwarding" or "Virtual Server" section in the router settings.
- Add a new rule with the following details:
- Service Name: Raspberry Pi SSH
- External Port: 22
- Internal IP Address: Your Raspberry Pi's local IP address
- Internal Port: 22
- Save the settings and restart your router if necessary.
Dynamic DNS (DDNS) for Easier Access
Dynamic DNS (DDNS) simplifies remote access by providing a consistent domain name for your Raspberry Pi, even if your IP address changes. Services like No-IP or DuckDNS offer free DDNS solutions.
Setting Up DDNS
Follow these steps to set up DDNS for your Raspberry Pi:
- Sign up for a free DDNS service and create a hostname.
- Install the DDNS client on your Raspberry Pi by running the following command:
sudo apt install ddclient- Configure the DDNS client with your service provider's details.
- Test the setup by pinging your hostname from an external network.
Using a VPN for Secure Connections
For added security, consider using a Virtual Private Network (VPN) to establish a secure tunnel between your device and Raspberry Pi. This method encrypts all data transmitted, making it harder for unauthorized users to intercept your connection.
Popular VPN Options
Some popular VPN solutions for Raspberry Pi include:
- OpenVPN
- WireGuard
- Tailscale
Each option has its own setup process, but most involve installing the client software and configuring it with your network credentials.
Security Best Practices for Remote Access
Security should always be a top priority when setting up remote access for your Raspberry Pi. Here are some best practices to follow:
Change Default Credentials
Change the default username and password for your Raspberry Pi to something unique and strong. Use a combination of uppercase and lowercase letters, numbers, and symbols.
Disable Password Authentication
Consider disabling password authentication and using SSH keys instead. This method provides a higher level of security by requiring a private key to access your device.
Regularly Update Your System
Keep your Raspberry Pi's operating system and software up to date to protect against vulnerabilities and exploits.
Troubleshooting Common Issues
Even with careful setup, you may encounter issues when trying to access your Raspberry Pi remotely. Here are some common problems and their solutions:
Unable to Connect via SSH
- Ensure SSH is enabled on your Raspberry Pi.
- Verify that port forwarding is correctly configured on your router.
- Check your firewall settings to ensure they are not blocking incoming connections.
Dynamic IP Address Changes
- Ensure your DDNS service is correctly configured and updating your hostname.
- Restart your DDNS client if necessary to force an update.
Conclusion and Next Steps
Accessing your Raspberry Pi over the internet can revolutionize the way you manage and interact with your projects. By following the steps outlined in this guide, you can set up secure and reliable remote access while adhering to best practices for safety and efficiency.
We encourage you to experiment with the tools and techniques discussed here and explore additional resources for further learning. Don't forget to share your experiences and insights in the comments below, and check out our other articles for more tips and tutorials.
Happy tinkering, and happy coding!