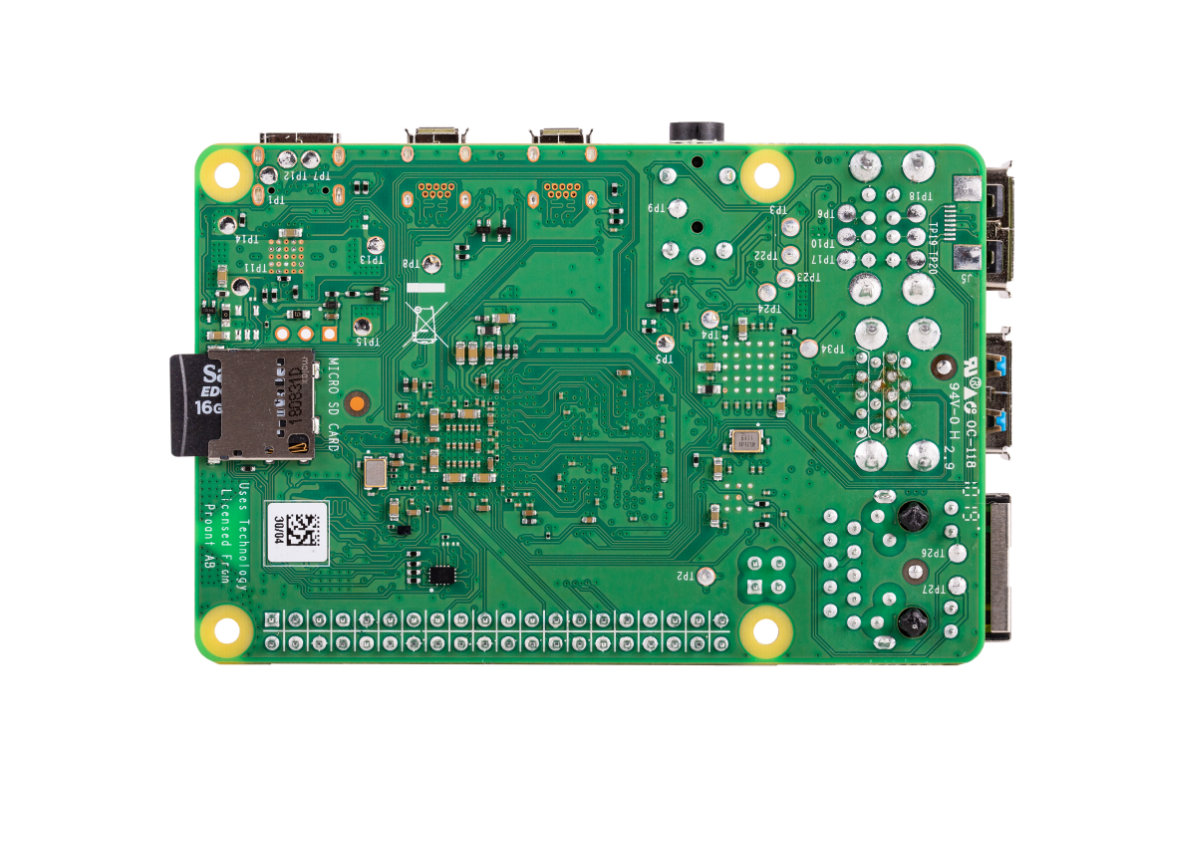
SSH (Secure Shell) has become an essential tool for Raspberry Pi users who want to manage their devices remotely. Whether you're a developer, hobbyist, or enthusiast, knowing how to SSH into Raspberry Pi can significantly enhance your productivity and flexibility. In this comprehensive guide, we will walk you through everything you need to know about setting up and using SSH for Raspberry Pi.
Remote access to your Raspberry Pi allows you to control it from another computer or device without needing physical access. This is particularly useful for projects that require automation, server management, or when your Raspberry Pi is located in a different location.
By the end of this guide, you'll have a solid understanding of how to configure SSH on Raspberry Pi, troubleshoot common issues, and enhance your setup with advanced tips. Let's dive in!
Read also:Louis Akhovanski A Rising Star In The Music Industry
Table of Contents
- Introduction to SSH
- Why Use SSH for Raspberry Pi?
- Setting Up SSH on Raspberry Pi
- Connecting to Raspberry Pi via SSH
- Troubleshooting Common SSH Issues
- Advanced SSH Features
- Securing Your SSH Connection
- Alternatives to SSH
- FAQ About SSH for Raspberry Pi
- Conclusion
Introduction to SSH
SSH, or Secure Shell, is a network protocol that provides secure communication between two devices over an unsecured network. It is widely used for remote command-line login and execution, file transfers, and tunneling. When it comes to Raspberry Pi, SSH enables you to control your device remotely from another computer, even if it's miles away.
How Does SSH Work?
SSH works by establishing an encrypted connection between a client (your computer) and a server (Raspberry Pi). This ensures that all data transmitted between the two devices is secure and protected from unauthorized access. The process involves authentication, where the client verifies its identity to the server, and encryption, which secures the data being transmitted.
Benefits of Using SSH
- Secure Communication: All data exchanged between your computer and Raspberry Pi is encrypted, making it difficult for hackers to intercept.
- Remote Access: You can control your Raspberry Pi from anywhere in the world as long as both devices are connected to the internet.
- Efficiency: SSH allows you to perform tasks quickly and efficiently without needing physical access to your device.
Why Use SSH for Raspberry Pi?
Raspberry Pi is a versatile device used for a wide range of projects, from home automation to web servers. However, its small size and lack of a built-in keyboard and monitor can make it challenging to manage directly. This is where SSH comes in handy.
Key Reasons to Use SSH
- Headless Operation: With SSH, you can operate your Raspberry Pi without connecting it to a monitor, keyboard, or mouse.
- Automation: SSH allows you to automate tasks and scripts on your Raspberry Pi remotely.
- Flexibility: You can manage multiple Raspberry Pi devices from a single computer, making it ideal for large-scale projects.
Setting Up SSH on Raspberry Pi
Setting up SSH on Raspberry Pi is a straightforward process that involves enabling the SSH service and configuring your network settings. Follow these steps to get started:
Step 1: Enable SSH on Raspberry Pi
By default, SSH is disabled on Raspberry Pi OS for security reasons. To enable it, you can use the Raspberry Pi Configuration tool or manually create an SSH file.
- Boot up your Raspberry Pi and log in.
- Open the terminal and type the following command:
sudo raspi-config. - Select "Interfacing Options" and then enable SSH.
Step 2: Configure Network Settings
Ensure that your Raspberry Pi is connected to the same network as your computer. You can use either Ethernet or Wi-Fi, depending on your setup.
Read also:Otogibanashio Onigokko A Comprehensive Guide To The Iconic Japanese Folklore Game
Step 3: Find Your Raspberry Pi's IP Address
To connect to your Raspberry Pi via SSH, you'll need its IP address. You can find it by typing the following command in the terminal:
hostname -I
Connecting to Raspberry Pi via SSH
Once SSH is enabled and your Raspberry Pi's IP address is known, you can connect to it using an SSH client. Below are the steps to connect from different operating systems:
Connecting from Windows
Windows 10 and later versions come with a built-in SSH client. Simply open the command prompt or PowerShell and type:
ssh pi@your-raspberry-pi-ip-address
Replace "your-raspberry-pi-ip-address" with the actual IP address of your Raspberry Pi.
Connecting from macOS or Linux
macOS and Linux systems have SSH clients pre-installed. Open the terminal and use the same command as above:
ssh pi@your-raspberry-pi-ip-address
Troubleshooting Common SSH Issues
Even with a well-configured setup, you may encounter issues when trying to SSH into your Raspberry Pi. Below are some common problems and their solutions:
Issue 1: SSH Connection Refused
This usually happens when SSH is not enabled on your Raspberry Pi. Double-check that SSH is enabled using the steps outlined earlier.
Issue 2: Incorrect IP Address
Ensure that you're using the correct IP address for your Raspberry Pi. You can verify it by running hostname -I on the Raspberry Pi terminal.
Issue 3: Authentication Failed
Make sure you're using the correct username and password for your Raspberry Pi. The default username is "pi," and the default password is "raspberry." However, it's recommended to change the password for security reasons.
Advanced SSH Features
Beyond basic remote access, SSH offers several advanced features that can enhance your Raspberry Pi experience:
SSH Tunneling
SSH tunneling allows you to securely forward traffic from one network to another. This is particularly useful for accessing services that are not publicly exposed.
SSH Key Authentication
Instead of using passwords, you can set up SSH key authentication for more secure and convenient access. This involves generating a public-private key pair and adding the public key to your Raspberry Pi's authorized_keys file.
Securing Your SSH Connection
While SSH provides a secure connection by default, there are additional steps you can take to enhance its security:
Change the Default Port
By changing the default SSH port (22) to a non-standard port, you can reduce the risk of automated attacks.
Disable Root Login
Disallowing root login via SSH adds an extra layer of security. You can achieve this by editing the SSH configuration file:
sudo nano /etc/ssh/sshd_config
Set "PermitRootLogin" to "no" and restart the SSH service.
Alternatives to SSH
While SSH is the most popular method for remote access, there are other options you can consider:
VNC (Virtual Network Computing)
VNC allows you to remotely control the graphical interface of your Raspberry Pi. This can be useful for projects that require a GUI.
Web-Based Interfaces
Some Raspberry Pi projects come with web-based interfaces that you can access through a browser. This eliminates the need for SSH altogether.
FAQ About SSH for Raspberry Pi
Q1: Can I use SSH without a monitor?
Yes, SSH allows you to operate your Raspberry Pi headlessly, meaning you don't need a monitor or keyboard connected to it.
Q2: Is SSH secure?
SSH is a secure protocol that encrypts all data transmitted between devices. However, it's important to follow best practices, such as using strong passwords and enabling SSH key authentication, to maximize security.
Q3: Can I SSH into Raspberry Pi from anywhere?
Yes, as long as your Raspberry Pi is connected to the internet and you have the necessary network configurations in place, you can SSH into it from anywhere in the world.
Conclusion
In conclusion, learning how to SSH into Raspberry Pi opens up a world of possibilities for remote management and automation. By following the steps outlined in this guide, you can set up a secure and efficient SSH connection to your Raspberry Pi. Remember to implement best practices for security and explore advanced features to enhance your experience.
We encourage you to share your thoughts and experiences in the comments section below. If you found this guide helpful, don't forget to share it with your friends and colleagues. For more tips and tutorials on Raspberry Pi, explore our other articles on the website.