Accessing your Raspberry Pi through the internet opens up a world of possibilities for remote management, IoT projects, and more. However, setting this up requires a solid understanding of networking concepts and security best practices. This guide will walk you through the process step-by-step, ensuring you can access your Raspberry Pi securely and efficiently from anywhere in the world.
Whether you're a hobbyist or a professional developer, remote access to your Raspberry Pi can significantly enhance your productivity. Imagine being able to monitor and control your home automation systems, servers, or experimental setups from the comfort of your office or even while traveling.
In this article, we'll explore how to access Raspberry Pi through the internet safely and effectively. We'll cover everything from basic setup to advanced security measures, ensuring your device remains protected while granting you seamless access. Let's dive in!
Read also:Ana Kasparian A Rising Star In Sports Journalism And Beyond
Table of Contents
- Introduction to Raspberry Pi
- Why Access Raspberry Pi Through Internet?
- Prerequisites for Remote Access
- Setting Up Your Raspberry Pi
- Configuring Port Forwarding
- Using SSH for Remote Access
- Securing Your Remote Connection
- Using Tunneling Services
- Troubleshooting Common Issues
- Conclusion and Next Steps
Introduction to Raspberry Pi
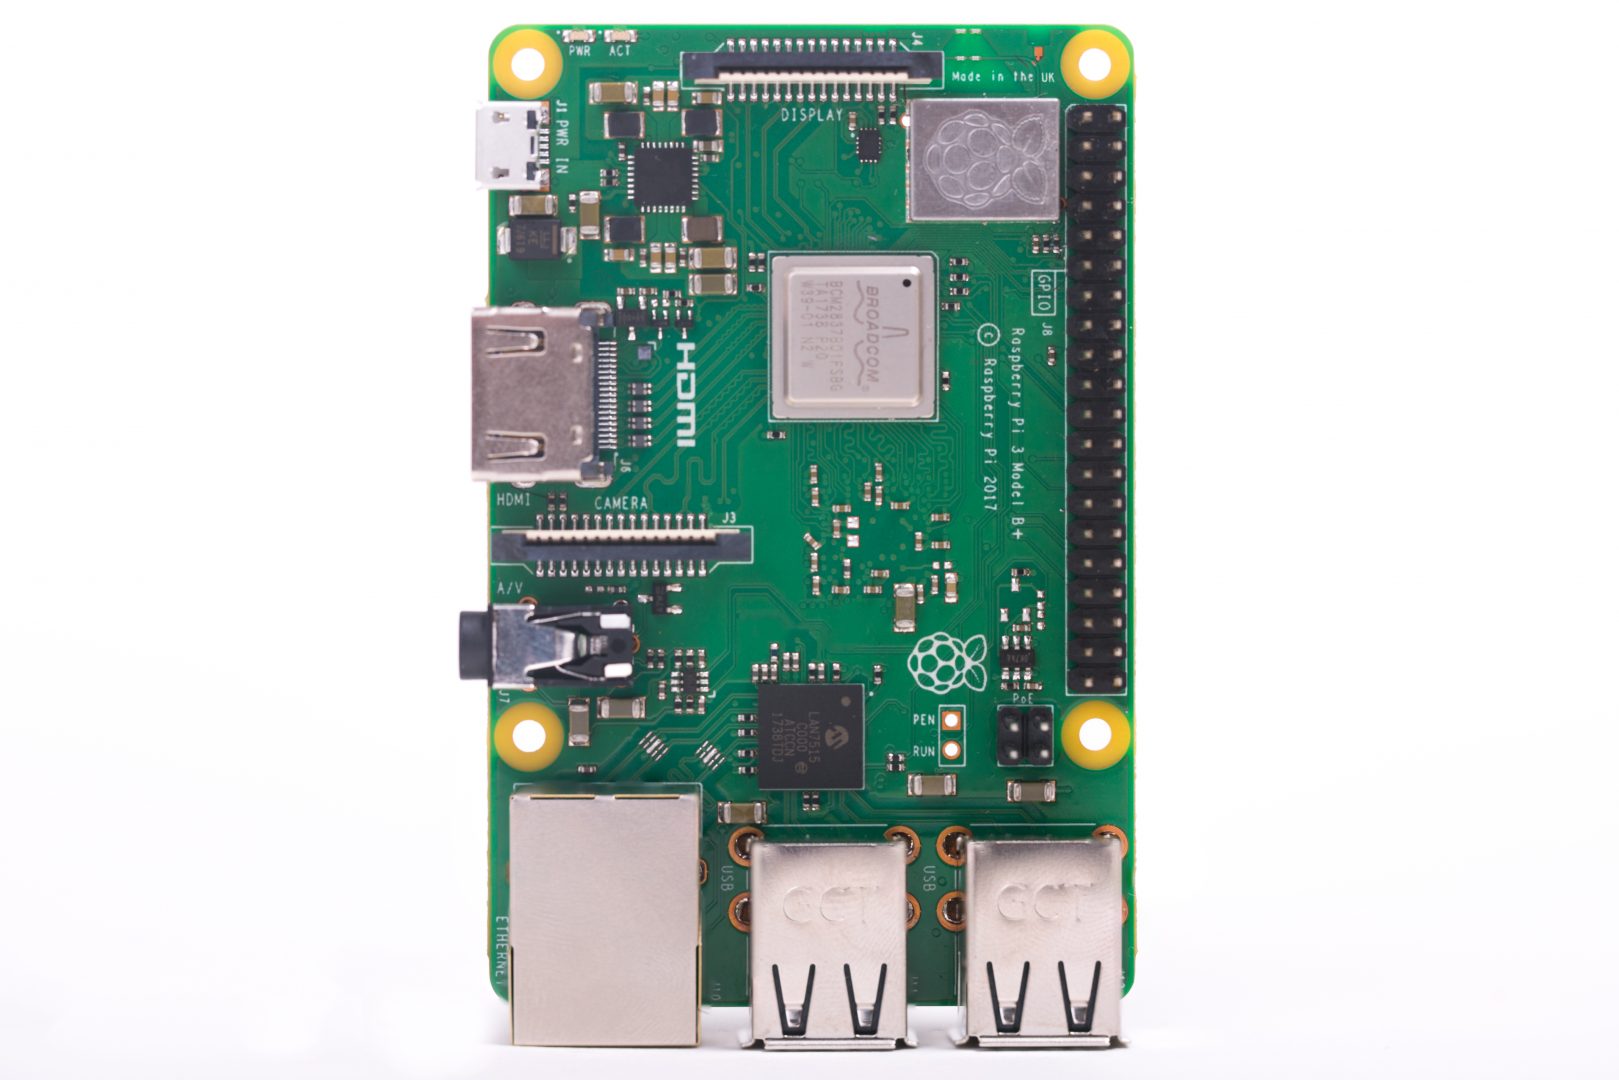
The Raspberry Pi is a compact, affordable computer that has become a favorite among hobbyists, educators, and professionals alike. With its versatility and expandability, the Raspberry Pi serves as a powerful platform for a wide range of applications, from media centers to IoT devices.
One of the key features of the Raspberry Pi is its ability to connect to networks, allowing users to interact with it remotely. Understanding how to access Raspberry Pi through the internet is essential for anyone looking to leverage its full potential.
According to a report by the Raspberry Pi Foundation, over 50 million units have been sold worldwide, highlighting its popularity and widespread adoption. This guide aims to help you harness the power of remote access to make the most out of your Raspberry Pi.
Why Access Raspberry Pi Through Internet?
Accessing your Raspberry Pi remotely provides numerous benefits, including:
- Remote monitoring and management of home automation systems.
- Control over IoT devices from anywhere in the world.
- Collaboration with team members on development projects.
- Access to file servers or media libraries hosted on your Raspberry Pi.
By setting up remote access, you can save time and increase efficiency, eliminating the need to be physically present to manage your device.
Prerequisites for Remote Access
Before diving into the setup process, ensure you have the following:
Read also:Exploring Ssbbw Juicy Jackie A Comprehensive Guide
- A Raspberry Pi with Raspbian or any other compatible operating system installed.
- A stable internet connection on both the Raspberry Pi and your remote device.
- A static IP address or dynamic DNS service configured for your Raspberry Pi.
- Basic knowledge of networking concepts and command-line usage.
Having these prerequisites in place will make the setup process smoother and more successful.
Setting Up Your Raspberry Pi
Step 1: Install SSH
Secure Shell (SSH) is a protocol that allows secure communication between devices over an unsecured network. To enable SSH on your Raspberry Pi:
- Open the terminal on your Raspberry Pi.
- Run the command:
sudo apt update. - Install SSH by running:
sudo apt install ssh. - Start the SSH service:
sudo service ssh start.
Step 2: Configure a Static IP Address
A static IP address ensures that your Raspberry Pi always has the same address on your local network. Follow these steps:
- Open the terminal and edit the network configuration file:
sudo nano /etc/dhcpcd.conf. - Add the following lines at the end of the file, replacing the placeholders with your network details:
 interface eth0
 static ip_address=192.168.1.100/24
 static routers=192.168.1.1
static domain_name_servers=192.168.1.1 - Restart your Raspberry Pi:
sudo reboot.
Configuring Port Forwarding
Port forwarding allows traffic from the internet to reach your Raspberry Pi by mapping external ports to internal IP addresses. Here's how to set it up:
- Log in to your router's admin interface using its IP address (usually 192.168.1.1).
- Navigate to the port forwarding or virtual server settings.
- Create a new rule, specifying the external port (e.g., 22 for SSH) and the internal IP address of your Raspberry Pi.
- Save the changes and restart your router if necessary.
Ensure that your router supports port forwarding and consult its manual for specific instructions.
Using SSH for Remote Access
Connecting via SSH
Once port forwarding is configured, you can connect to your Raspberry Pi using SSH from any device with internet access. Use the following command in your terminal:
ssh pi@your-public-ip-addressReplace "your-public-ip-address" with the public IP address assigned to your router. Enter the password for your Raspberry Pi when prompted.
Enhancing SSH Security
To enhance security, consider the following measures:
- Change the default SSH port from 22 to a non-standard port.
- Disable password authentication and use SSH keys instead.
- Limit access to specific IP addresses using firewall rules.
These steps will reduce the risk of unauthorized access to your Raspberry Pi.
Securing Your Remote Connection
Security is paramount when accessing your Raspberry Pi through the internet. Implement the following best practices:
- Use strong, unique passwords for all user accounts.
- Regularly update your Raspberry Pi's software and firmware.
- Enable a firewall to block unauthorized access attempts.
- Monitor logs for suspicious activity and take immediate action if necessary.
By prioritizing security, you can protect your device and data from potential threats.
Using Tunneling Services
Tunneling services like ngrok or PageKite provide an alternative to traditional port forwarding. These services create a secure tunnel between your Raspberry Pi and the internet, allowing you to access it without modifying your router's settings.
Setting Up ngrok
- Download and install ngrok on your Raspberry Pi:
wget https://bin.equinox.io/c/4VmDzA7iaHb/ngrok-stable-linux-arm.tgz. - Extract the file and run ngrok:
./ngrok tcp 22. - ngrok will provide a public URL that you can use to access your Raspberry Pi securely.
Tunneling services are especially useful if your router does not support port forwarding or if you want to avoid exposing your network to the internet.
Troubleshooting Common Issues
Even with careful setup, issues may arise. Below are some common problems and their solutions:
- Connection Refused: Ensure SSH is enabled and the correct port is forwarded in your router.
- Timeout Errors: Verify your public IP address and check for firewall restrictions.
- Authentication Failed: Double-check your username and password, and ensure SSH keys are correctly configured.
Refer to the official Raspberry Pi documentation or online forums for additional troubleshooting tips.
Conclusion and Next Steps
Accessing your Raspberry Pi through the internet offers immense convenience and flexibility, enabling you to manage and interact with your device from anywhere. By following the steps outlined in this guide, you can set up secure and reliable remote access while minimizing risks.
Remember to regularly update your Raspberry Pi and review your security measures to stay protected against evolving threats. We encourage you to share your experience or ask questions in the comments below. For more in-depth guides and tutorials, explore our other articles on Raspberry Pi and networking topics.
Thank you for reading, and happy tinkering!