Connecting your Raspberry Pi over the Internet opens up a world of possibilities for remote access, automation, and IoT projects. Whether you're a beginner or an advanced user, this guide will walk you through every step of the process, ensuring seamless connectivity and security.
As more people explore the potential of Raspberry Pi, the demand for remote access solutions continues to grow. Remote connectivity allows users to manage their devices from anywhere in the world, making it an essential skill for anyone working with this versatile mini-computer.
This article will provide a detailed walkthrough of how to connect Raspberry Pi over the Internet, covering everything from basic setup to advanced security measures. By the end of this guide, you'll have the knowledge and tools necessary to ensure your Raspberry Pi is both accessible and protected.
Read also:Naughty America The Ultimate Guide To The Worlds Largest Adult Entertainment Empire
Table of Contents
- Introduction to Raspberry Pi Internet Connectivity
- Understanding Raspberry Pi Basics
- Methods for Remote Access
- Step-by-Step Setup Guide
- Securing Your Raspberry Pi
- Common Issues and Troubleshooting
- Advanced Features for Remote Access
- Recommended Tools and Software
- Practical Applications of Remote Raspberry Pi
- Conclusion
Introduction to Raspberry Pi Internet Connectivity
Connecting your Raspberry Pi over the Internet is a powerful way to enhance its functionality. Whether you're managing a home automation system, running a web server, or developing IoT applications, remote access can streamline your workflow. This section will cover the basics of what you need to know to get started.
Before diving into the technical aspects, it's important to understand the importance of security. Exposing your Raspberry Pi to the Internet comes with risks, but with the right precautions, you can ensure a safe and reliable connection.
Why Connect Raspberry Pi Over the Internet?
Remote connectivity offers several advantages:
- Access your Raspberry Pi from anywhere in the world.
- Streamline project management and maintenance.
- Enable real-time data collection and monitoring.
- Expand the capabilities of your Raspberry Pi projects.
Understanding Raspberry Pi Basics
To effectively connect your Raspberry Pi over the Internet, it's crucial to have a solid understanding of its basic components and functionalities. This section will provide an overview of the Raspberry Pi and its role in remote access setups.
What is Raspberry Pi?
Raspberry Pi is a series of small single-board computers developed by the Raspberry Pi Foundation. It is widely used for educational purposes, home automation, and various IoT projects. Its affordability and versatility make it a popular choice among hobbyists and professionals alike.
Methods for Remote Access
There are several methods to connect Raspberry Pi over the Internet. Each method has its own advantages and limitations. Below are some of the most common approaches:
Read also:Caitlin Clark Playing In Europe A Rising Star In The Wnba And European Basketball Scene
- SSH (Secure Shell)
- VNC (Virtual Network Computing)
- Web-based interfaces
- Third-party services like ngrok or localtunnel
Choosing the Right Method
The method you choose will depend on your specific needs and technical expertise. For example, SSH is ideal for command-line access, while VNC provides a graphical interface. Third-party services can simplify the process but may introduce security concerns.
Step-by-Step Setup Guide
This section will guide you through the process of setting up your Raspberry Pi for remote access. Follow these steps carefully to ensure a successful connection.
Step 1: Install the Operating System
Start by installing the latest version of Raspberry Pi OS on your device. You can download the OS from the official Raspberry Pi website and use a tool like Etcher to flash it onto an SD card.
Step 2: Enable SSH
SSH is the most common method for remote access. To enable SSH, create an empty file named "ssh" in the boot directory of your SD card. This will activate SSH on the first boot.
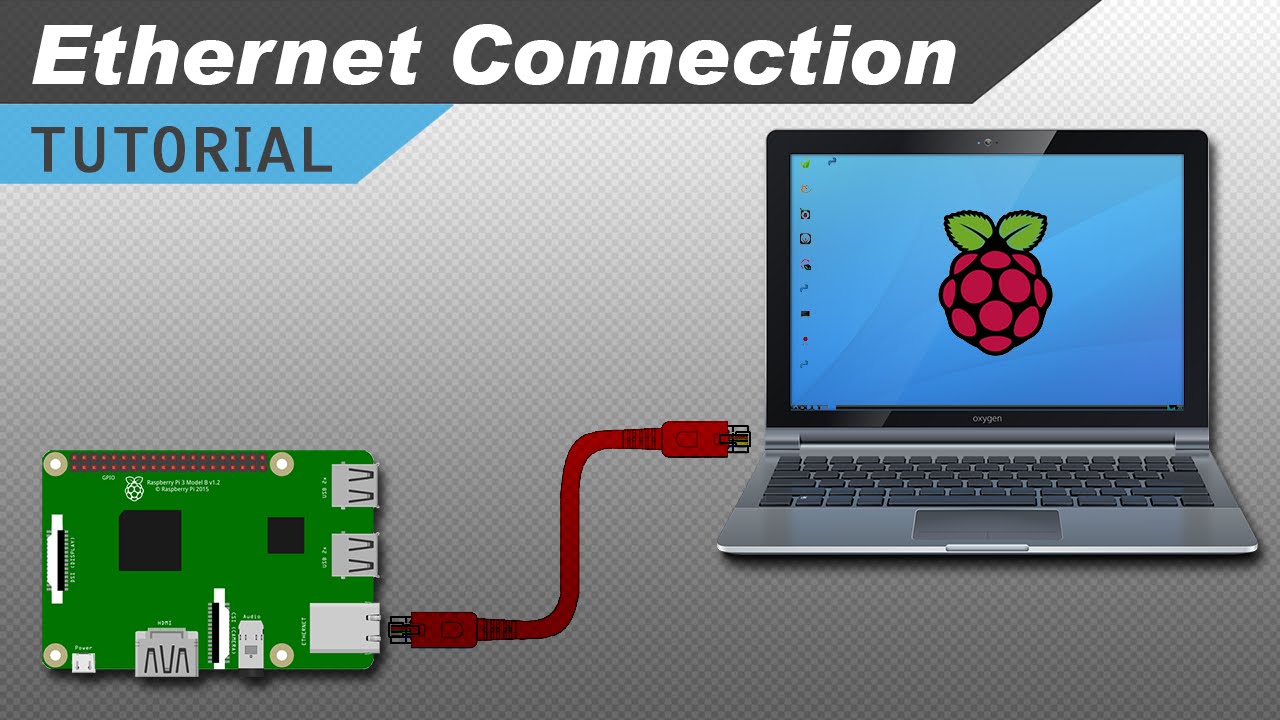
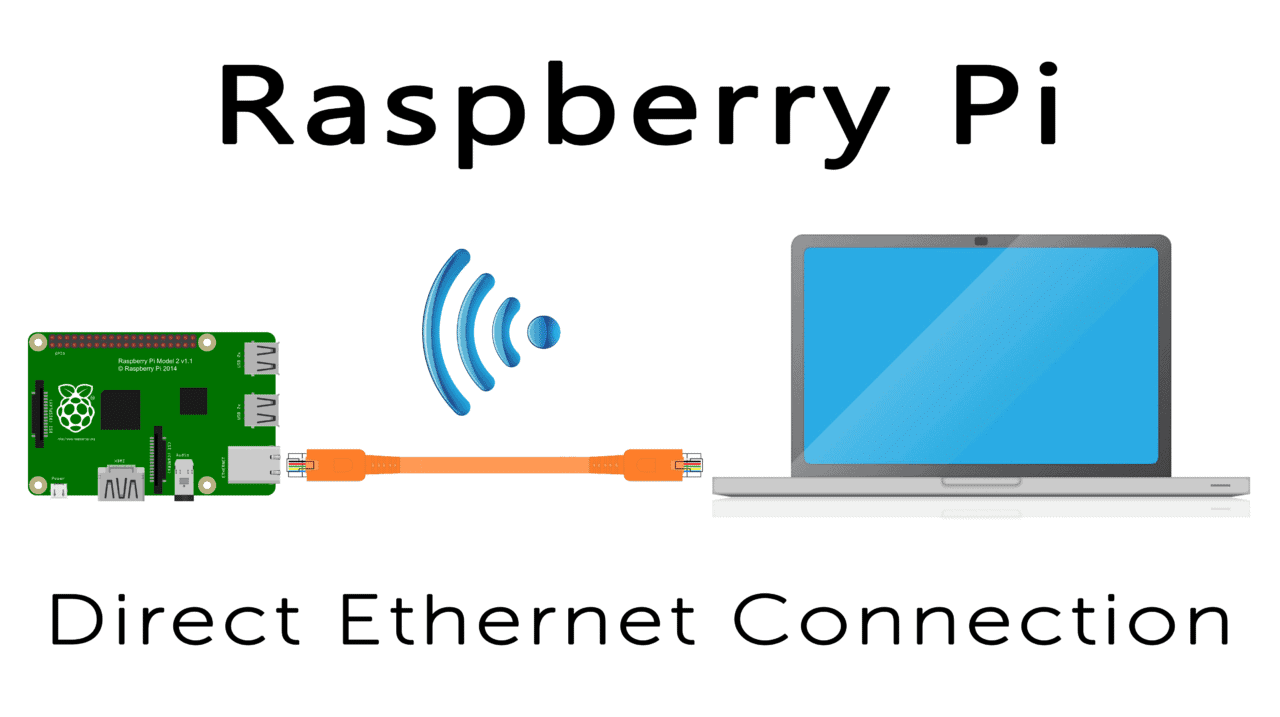
Step 3: Configure Network Settings
Ensure your Raspberry Pi is connected to the Internet. You can use either a wired or wireless connection. For wireless, edit the wpa_supplicant.conf file in the boot directory to include your Wi-Fi credentials.
Step 4: Set Up Port Forwarding
To access your Raspberry Pi from outside your local network, you'll need to configure port forwarding on your router. Forward port 22 (the default SSH port) to the IP address of your Raspberry Pi.
Securing Your Raspberry Pi
Security is a critical aspect of connecting Raspberry Pi over the Internet. Without proper precautions, your device could be vulnerable to unauthorized access. Follow these best practices to secure your Raspberry Pi:
- Change the default username and password.
- Enable a firewall to restrict incoming connections.
- Use strong passwords and consider implementing two-factor authentication.
- Regularly update your operating system and software.
Advanced Security Measures
For added security, consider using a tool like fail2ban to block repeated login attempts. You can also configure SSH to use key-based authentication instead of passwords, further reducing the risk of brute-force attacks.
Common Issues and Troubleshooting
Even with careful setup, issues can arise when connecting Raspberry Pi over the Internet. This section will address some common problems and provide solutions.
Issue: Unable to Connect via SSH
Solution: Verify that SSH is enabled and check your port forwarding settings. Ensure your router's firewall is not blocking incoming connections on port 22.
Issue: Slow Connection Speed
Solution: Optimize your network settings and consider upgrading your Internet connection. If using Wi-Fi, ensure your Raspberry Pi is close to the router for better signal strength.
Advanced Features for Remote Access
Once you've successfully connected your Raspberry Pi over the Internet, you can explore advanced features to enhance its functionality. These features can take your projects to the next level.
Automating Tasks with Cron
Cron is a time-based job scheduler in Linux. You can use it to automate tasks such as backups, system updates, and data collection. This can save you time and ensure your Raspberry Pi runs smoothly.
Setting Up a Web Server
Transform your Raspberry Pi into a web server by installing software like Apache or Nginx. This allows you to host websites or web applications remotely, providing additional functionality to your device.
Recommended Tools and Software
Several tools and software can simplify the process of connecting Raspberry Pi over the Internet. Below are some recommendations:
- Putty: A popular SSH client for Windows.
- TightVNC: A VNC client for remote graphical access.
- ngrok: A tool for creating secure tunnels to your Raspberry Pi.
- localtunnel: Another option for exposing local servers to the Internet.
Choosing the Right Tools
Select tools based on your specific needs and technical expertise. For example, beginners may prefer user-friendly interfaces, while advanced users might opt for more powerful command-line tools.
Practical Applications of Remote Raspberry Pi
Remote access to Raspberry Pi opens up a wide range of practical applications. Below are some examples:
- Home automation systems
- Remote surveillance and monitoring
- IoT device management
- Cloud-based data processing
Case Study: Smart Home Automation
Using Raspberry Pi, you can create a smart home automation system that allows you to control devices like lights, thermostats, and security systems remotely. This not only enhances convenience but also improves energy efficiency and security.
Conclusion
Connecting your Raspberry Pi over the Internet is a valuable skill that can enhance the functionality of your projects. By following the steps outlined in this guide, you can ensure a secure and reliable connection. Remember to prioritize security and regularly update your system to protect against potential threats.
We encourage you to share your experiences and ask questions in the comments below. Don't forget to explore other articles on our site for more tips and tutorials on Raspberry Pi and related technologies. Happy coding!